It’s time to Deploy HA Proxy, as we are going to Enable later vSphere for Tanzu, it’s a prerequisite !
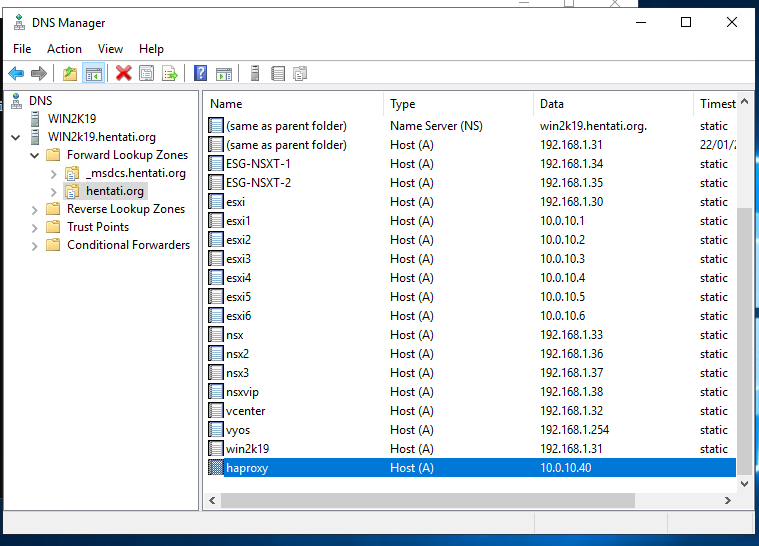
First of all, we have to create the dns entry, and upload the OVF Template on content library
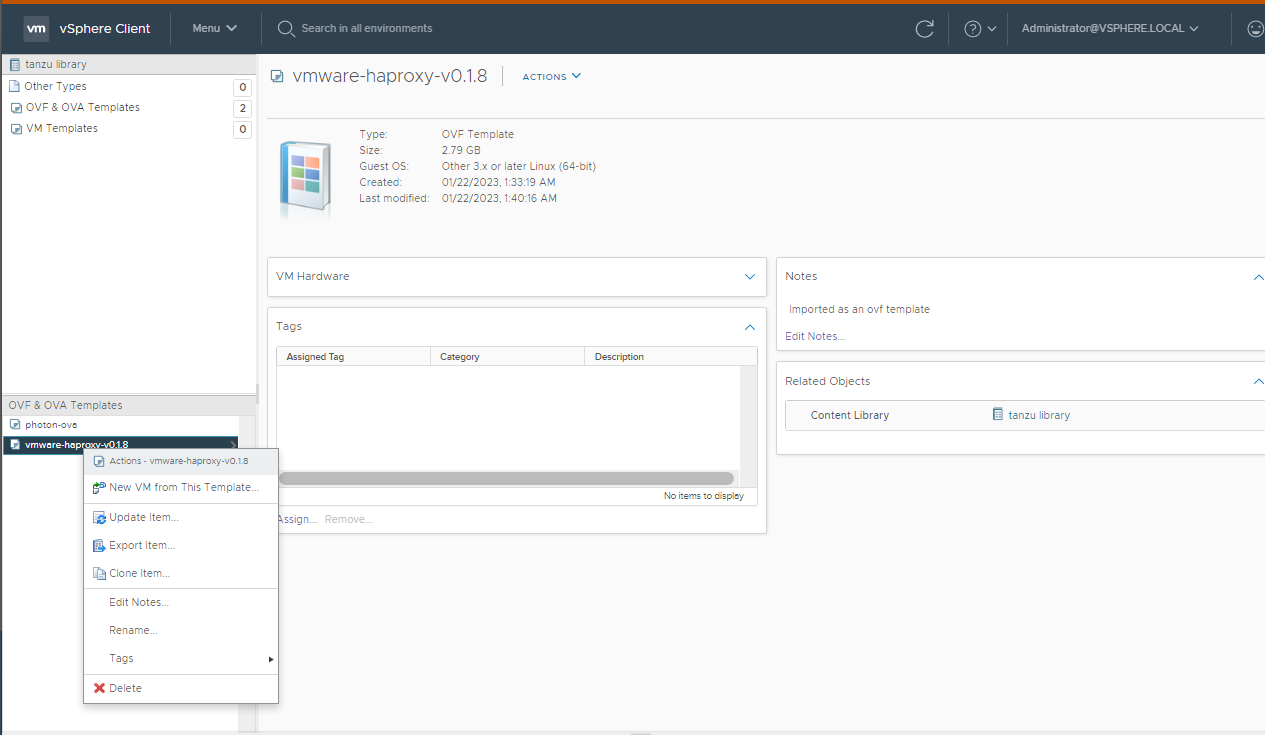
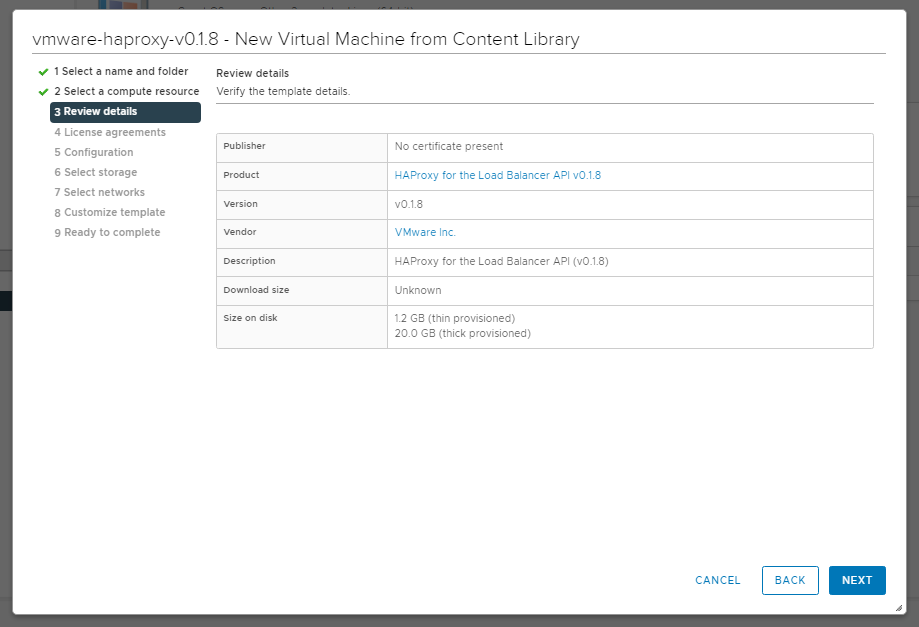
Go on content library, Select the right OVF and click on New VM from this template
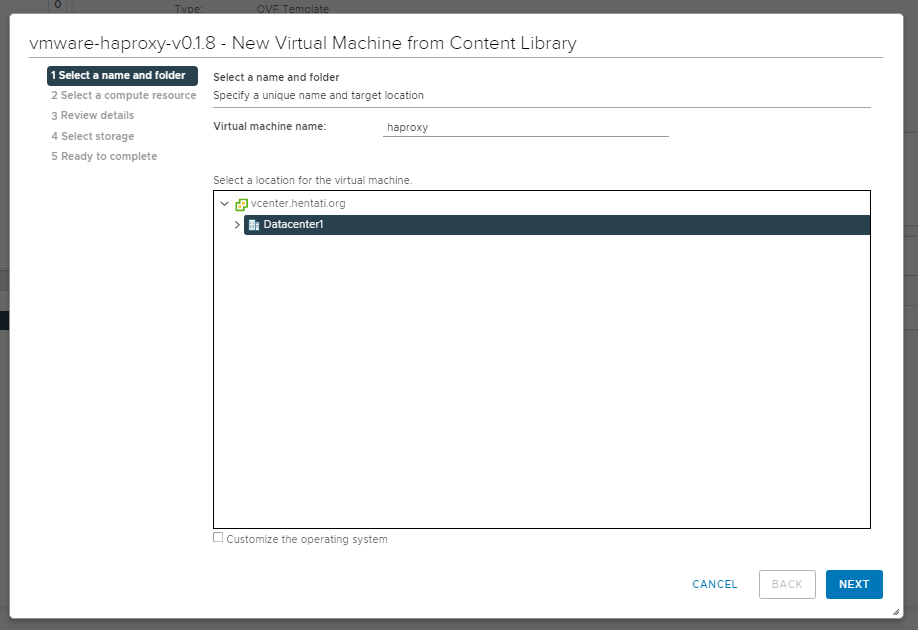
We have to select the datacenter
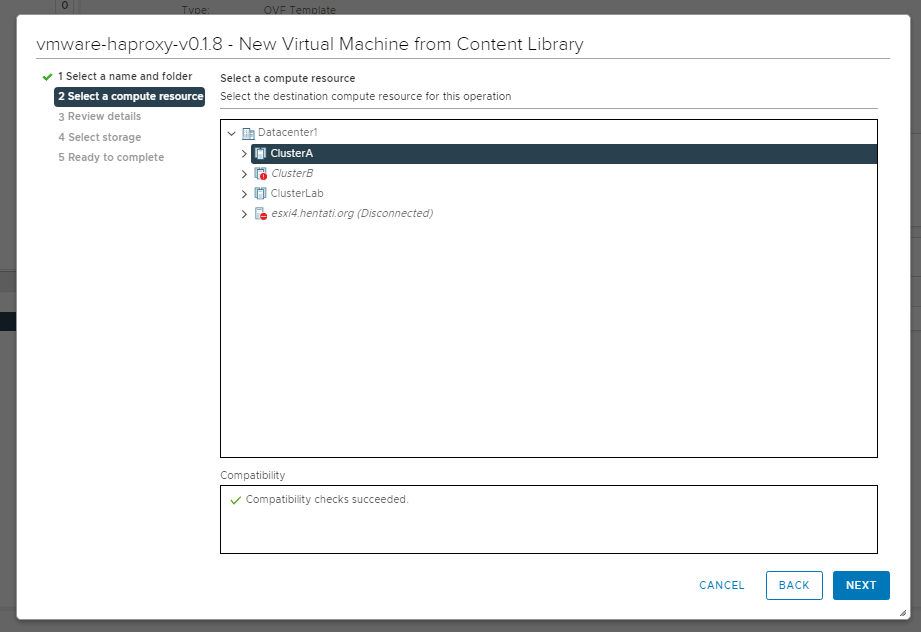
Select also the cluster to deploy on it the HA Proxy
Click on next to continue
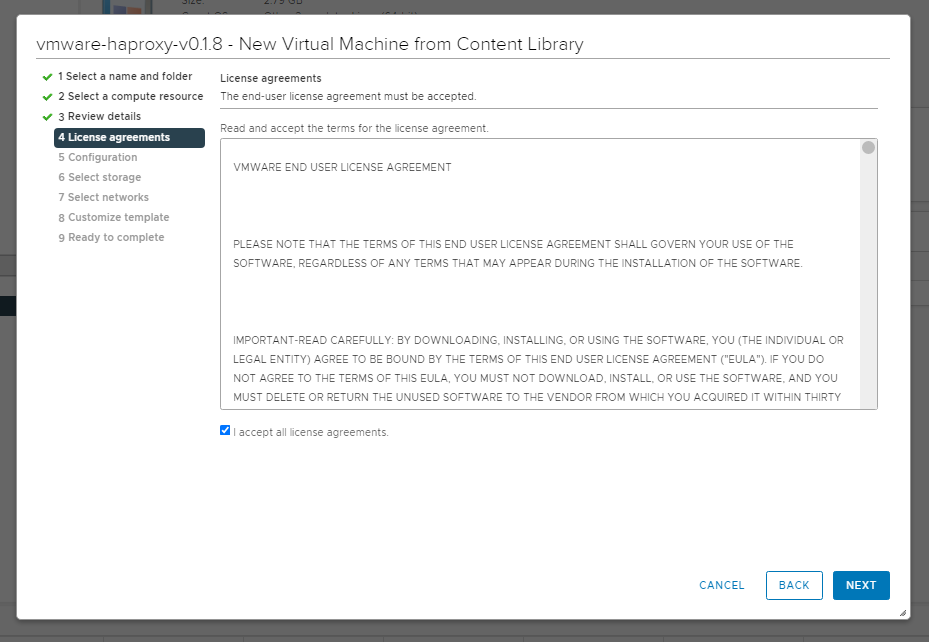
We accept the Licence, click on next
There are two choice,
1- The Default config, In the 2 NIC configuration, there is a Management network and a Workload network. The Management network communicates with the Supervisor control plane whilst the Workload network is used for communicating to both TKG node IP addresses and providing Load Balancer IP addresses.
2- The Frontend Network, In the 3 NIC configuration, a third network is configured, called the Frontend network. This moves the Load Balancer from provisioning IP addresses on the Workload network to the Frontend network. In this example, I am using the Frontend network for the Load Balancer IP addresses, as shown in the networking diagram above. However, it is the same VLAN and subnet as the Workload network, so I need to be careful not to overlap the network ranges.
Let’s go with the second choice

Now we select the datastore, in my case it’s vSan datastore

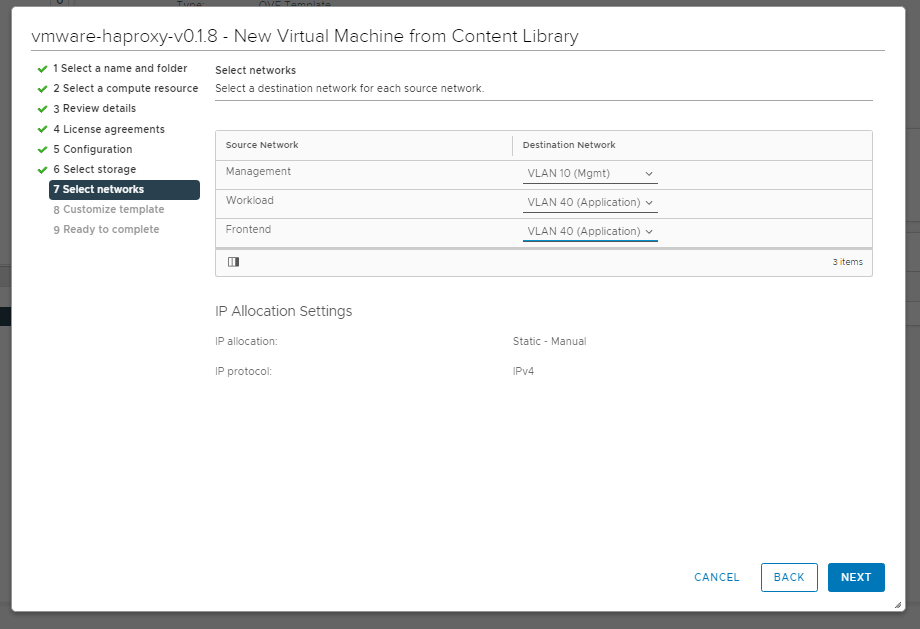
As we have selected the second choice for the config,
now we put the right VLAN,
In my case, as I’m using small lab, I choose the sans VLAN 40 for Workload and Frontend
Now we Customize our VM, password in this first screenshot,

In this screenshot, we have to enter all network data, Hostname, DNS, Management IP, Workload, Frontend ..

And finally, the loadbalacing settings, small IP block fo Kube Services, and the port 5556

Click finish !

We can see the VM deployed on our vCenter, to check if the HA Proxy works, we can try the URL :
FQDN:5556/v2

Our HA Proxy works ! now we can go to Enable vSphere for Tanzu 🙂
Thanks !