vCenter Embedded Linked Mode is enhanced linked mode support for vCenter Server Appliance (vCSA) with an embedded Platform Services Controller (PSC).
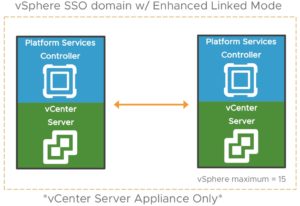
From vCenter version 7, there no External PSC, that’s why vCenter 6.7 encourage to use Embedded PSC, to avoid the migration of the PSC external to internal !
We can have up to 15 vCenter appliances can be linked together using vCenter Embedded Linked Mode and displayed in a single inventory view.
There is a simplified HA process, no more load balancers for PSC,
Now let’s take a look at the steps below to configure vCenter Embedded linked mode,
We should have to ISO downloaded, Mount the ISO on the machine from where you are going to start the installation,
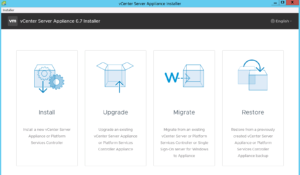
Navigate to the Folder vcsa-ui-installer -> win32 from the mounted ISO drive and open the installer file.
As you can see the deploy appliance page will popup like bellow , we have four options available there :
Install – Installation of VCSA
Upgrade – Upgrade of existing VCSA or PSC
Migrate – Migrate existing vCenter , PSC or SSO windows server to appliance
Restore – Restore the vCenter or PSC backup which we already took
Since we are planing to install the new VCSA , Click on Install Option
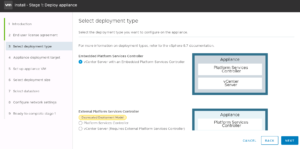
There are two option one is vCenter Server with embedded PSC or external PSC , Select vCenter Server with an Embedded Platform Service Controller and Click Next
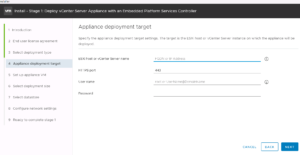
Enter the Target ESXi host FQDN or IP and user name and password of the Target ESXi host where new VCSA will be installed
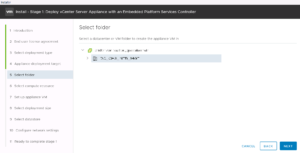
Choose the folder to add the appliance,
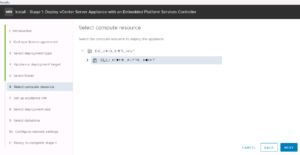
Choose the resource cluster or host for the appliance,
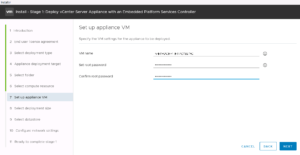
Add the VM Name and root password for the appliance,
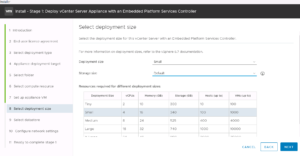
Select the deployment sizes and click next,
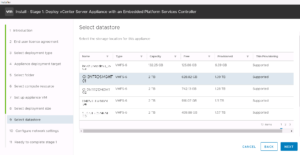
Select the Storage location where this appliance to be deployed and Click Next
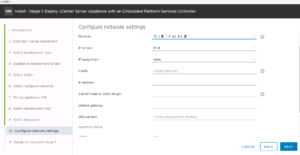
Select the Network to be communicated with VCSA and add the IP details and Click Next
Note :- FDQN of vCenter should be resolving else you may get an error on installation time .
Review the settings and Click Finish to Start the Installation of VCSA 6.7

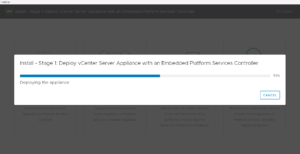
Popup will come ad you can review the progress the installation
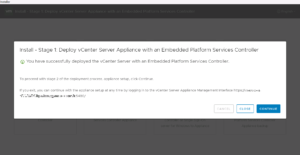
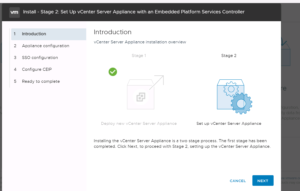
After Completion of the vCenter Appliance installation you can continue to next stage of deployment which is appliance setup .
Click Continue to start the Stage 2
You can see the Two stage Process details on the window and Click next to continue
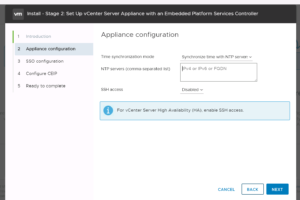
Choose the Time Sync Option , Sync with ESXi or NTP server details , also you can enable or disable SSH access form same window and Click Next
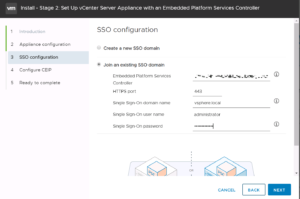
Here you have to add SSO domain details , sso domain name , username and password , Click Next to Continue
In our case, we are using an existing SSO domain, at this step we decide to go on linked mode vCenter,
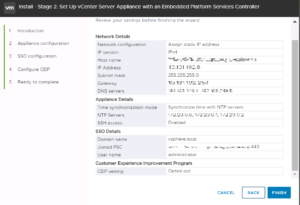
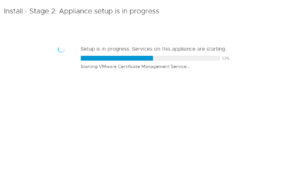
Review the setting of the vCenter Appliance and Click Finish to start the Second Stage Instalaltion
After Installation completed you can close the window , and you can access the appliance by browse the address from any browser,
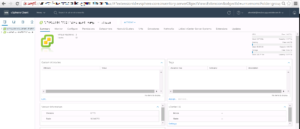
By connecting on the first vCenter, or the seconde one, we see everytime the two vCenter connected (the advantage to have linked mode architecture is the centralization, the way to configure all vCenter from the same Window)
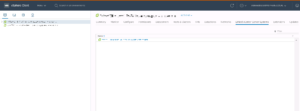
And by selecting one vCenter, and going on Linked vCenter Server Systems, we can see all vCenter connected to the same SSO domain,
I hope you enjoy this tutorial 🙂