In this post, we’ll cover the deployment process for the NSX-V Manager appliance, the initial configuration of that appliance and finally the creation of controller cluster,
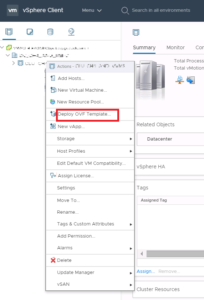
Login to our vCenter to deploy and manage the appliance, Right click the cluster and select ‘Deploy OVF Template’
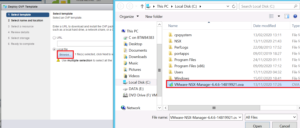
Browse to the OVA file you downloaded earlier and click ‘Next’
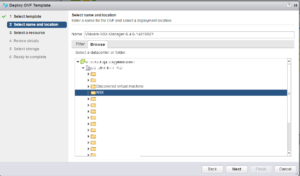
Give the NSX-V manager a name, this does not have to be the FQDN then select the folder and click ‘Next’
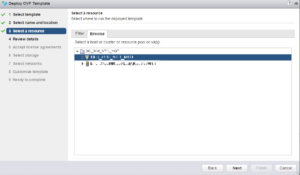
Select the resource where the manager will run,
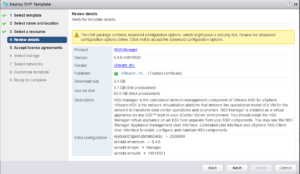
Review the details and click ‘Next’
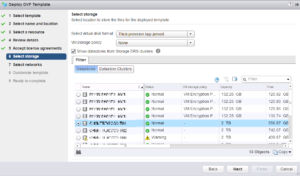
Now we need to select the datastore and the disk format,
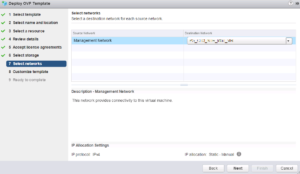
Select the Management network this needs to have connectivity to the hosts then click ‘Next’
Now we get into the meat of the configuration first off enter a complex password, enter the Manager hostname, enter the IPv4 address subnet mask and default gateway, and finally enter the DNS server/s the domain name and NTP server/s
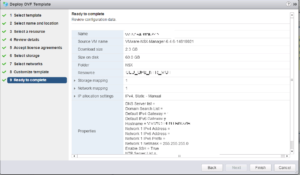
After all that we are finally ready to deploy the appliance, review the details to ensure you’ve not made any errors before clicking ‘Finish’
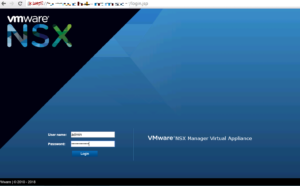
With the NSX-V manager powered on, we need to connect to it’s web interface so open a browser and connect https://NSX-Manager.FQDN
For now select “Manage vCenter Registration” 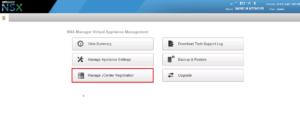
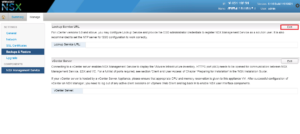
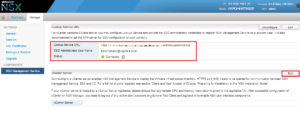
Select “NSX Management Service” in the left settings pane then click ‘Edit’ in the “Lookup Service URL” section,
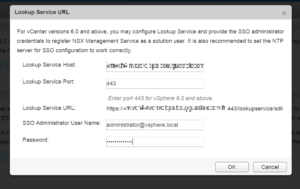
Enter the lookup host this will be your PSC or in my case the vCenter as it has the PSC embedded.
Enter an SSO username and password (service account), I’m using the default admin account for simplicity and I’ve not yet linked SSO to the AD.
Click ‘OK’
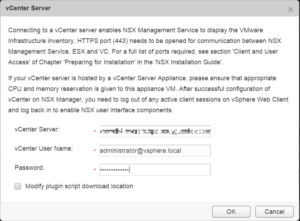
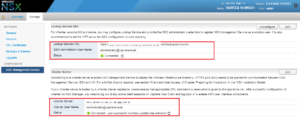
Once connected the status will change to green, Click ‘Edit’ on the vCenter Server section
Enter the vCenter username and password,
Do not tick ‘Modify plugin script download location’, unless the NSX Manager is behind a firewall type of masking device.
This option allows you to enter an alternate IP address for NSX Manager. Note that putting NSX Manager behind a firewall of this type is not recommended. Click ‘OK’
Once connected the status will show green.
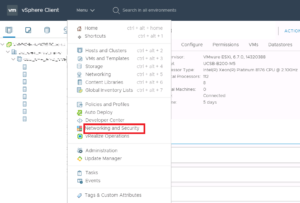
Finally log out of the vCenter web client and login again otherwise you will not see the NSX Manager.
Once logged in click the Home button and you will see the Networking & Security option. Select it.
Now we have NSX manager installed,
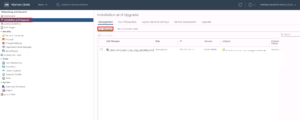
Then go to ‘Installation and Upgrade’ , from the Management pane select ‘NSX Controller Nodes’ , click Edit,
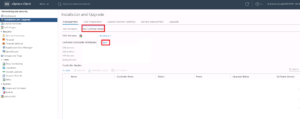
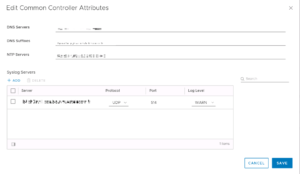
Here, we add DNS servers, NTP and syslog server for controller cluster,
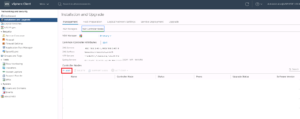
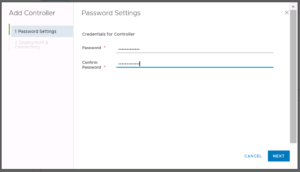
Next step is the creation of controller cluster, we have to create 3 controller, click on ADD to create the first one,
Enter a complex password again with a minimum of 12 characters and click ‘Next.’
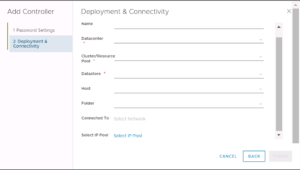
Give the controller a name, select the Datacenter, cluster, Host, folder and Datastore where it will run.
We have also to connect it to the right switch,
If IP pool was created before just select it, or we can create it in this step,
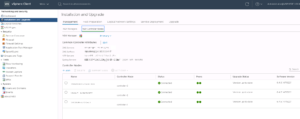
After adding the first controller, we should wait until the installation is finished and repeat the same step to create the remaining two others controllers,
Here we see that we have 3 controllers installed correctly to make the cluster of controller,
We are now nearly ready to install NSX on the hosts, configure Segment and Transport Zone, Click here to Continue
In our case, NSX manager is just used in standalone Mode, that’s why we have to install controllers,
If NSX manager will be used as secondary, we don’t have to add controllers, it will use those of the Primary, don’t hesitate to read my article about Cross-vCenter NSX-V 6.4 !