Since NSX version 6.2 we can have NSX in a vSphere environment managed by more than one vCenter system. This deployment is called cross-vCenter NSX.
There can be one primary NSX Manager (runs the controller cluster) and up to seven secondary NSX Managers in a cross-vCenter NSX environment.
The advantage to use this kind of architecture is NSX together with vSphere is the infrastructure that delivers on business requirements like workload mobility, resource pooling, consistent security and centralization of configuration (same Routers and Switchs on the Universal Transport Zone)
We don’t need to install controller cluster to all NSX manager if we want to configure them as Secondary NSX manager, due to their role as NSX Secondary, they will use controller cluster of the Primary NSX manager on common, and thanks to this architecture, we are able to have the same configuration in all NSX manager for all virtual network equipment (DLR, LS and EDGE router) belonging to the Universal Transport Zone,
Prerequisite:
2 vCenter on linked-mode or standalone
2 NSX manager each one connected to his appropriate vCenter in standalone mode (how to install NSX manager standalone Click here)
First NSX manager have controller cluster, and second NSX manager controller cluster is not installed !
In our example, we are going to configure the primary NSX Manager and one additional secondary NSX Manager.
We have 2 vCenter on linked-mode (version 6.7) and 2 NSX manager on standalone (version 6.4)
To configure an NSX Manager as the Primary:
Log into the vCenter linked to the primary NSX Manager using the vSphere Web Client.
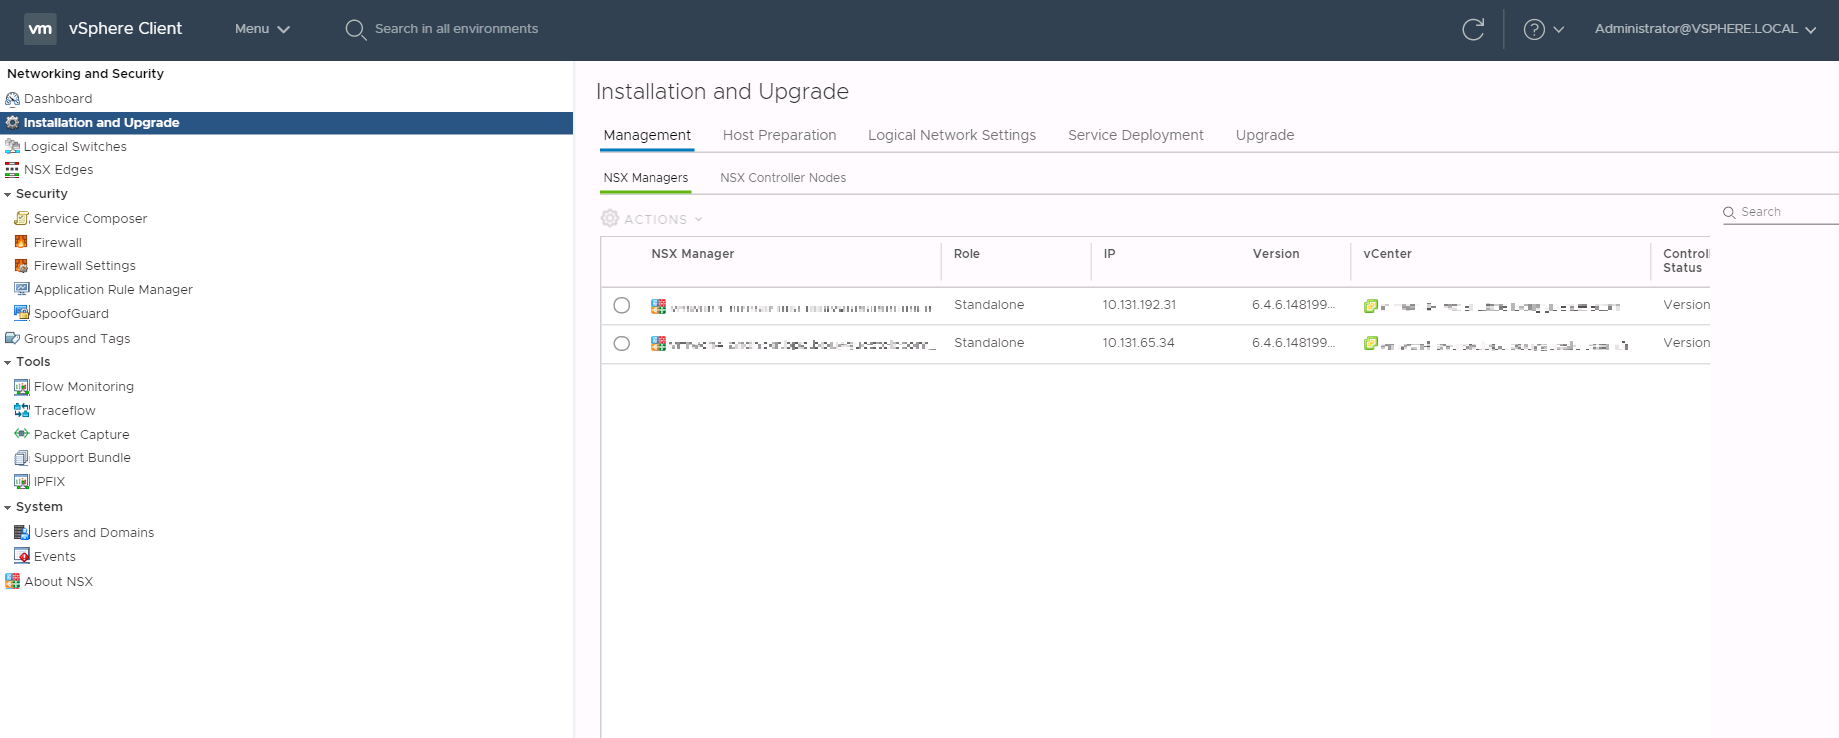
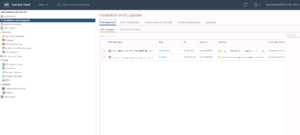
Navigate to Home > Networking & Security > Installation and select the Management tab.
Select the NSX Manager you want to assign as the primary and click Actions and then Assign Primary Role.
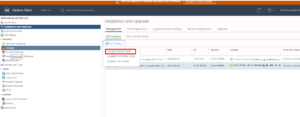
The selected NSX Manager is assigned the primary role.
To configure an NSX Manager as Secondary:
Log in to the vCenter linked to the primary NSX Manager.
Navigate to Home > Networking & Security > Installation and select the Management tab.
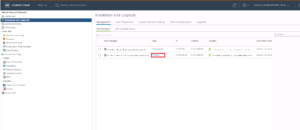
Click the primary NSX Manager. Then select Actions > Add Secondary NSX Manager.

Enter the IP address, user name, and password of the secondary NSX Manager.
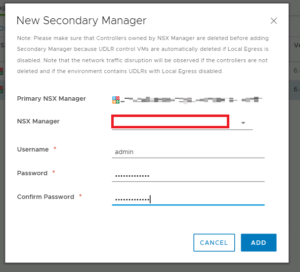
After successful registration the role changes from Standalone to Secondary.
vCenter Server systems are in Enhanced Linked Mode, we can see the roles of all NSX Managers associated with those vCenter Server systems from the Home > Networking & Security > Installation tab.
If vCenter Server systems are in Standalone Mode, we have to connect to every vCenter to configure NSX manager, in this case we can’t configure Local Transport Zone from the same installation tab,
Enjoy NSX 😀